In case you are getting ready for NEET counselling, the first thing that should be on your list is the collection of your documents right on time. A lot of students put in hard work for several months and reap the fruits with good marks, but, unfortunately, get stressed in the end because they miss out on small papers and certificates during the counselling process. In order to prevent you from encountering such issues, I have composed this very simple and approachable blog where you will be enlightened about the documents for NEET counselling, the required certificates, the formats, and the verification process.
Why are so many documents needed?
Think of a situation where you walk into a school, and the teacher has to verify your ID card, your parents' enrollment, and your placement in the correct class. Similarly, when a thousand students are applying for NEET seats, the authorities must verify that each one is authentic. This process is called verification.
Verification makes sure:
Your name and details are correct
You truly passed Class 10 and 12
Your NEET score is real
Your reservation category (if you have one) is correct
You are from the state you claim to be from
Your identity matches the documents you uploaded
So, without proper papers, no student can move forward in the counselling process. That is why the documents for NEET counselling should always be ready in advance.
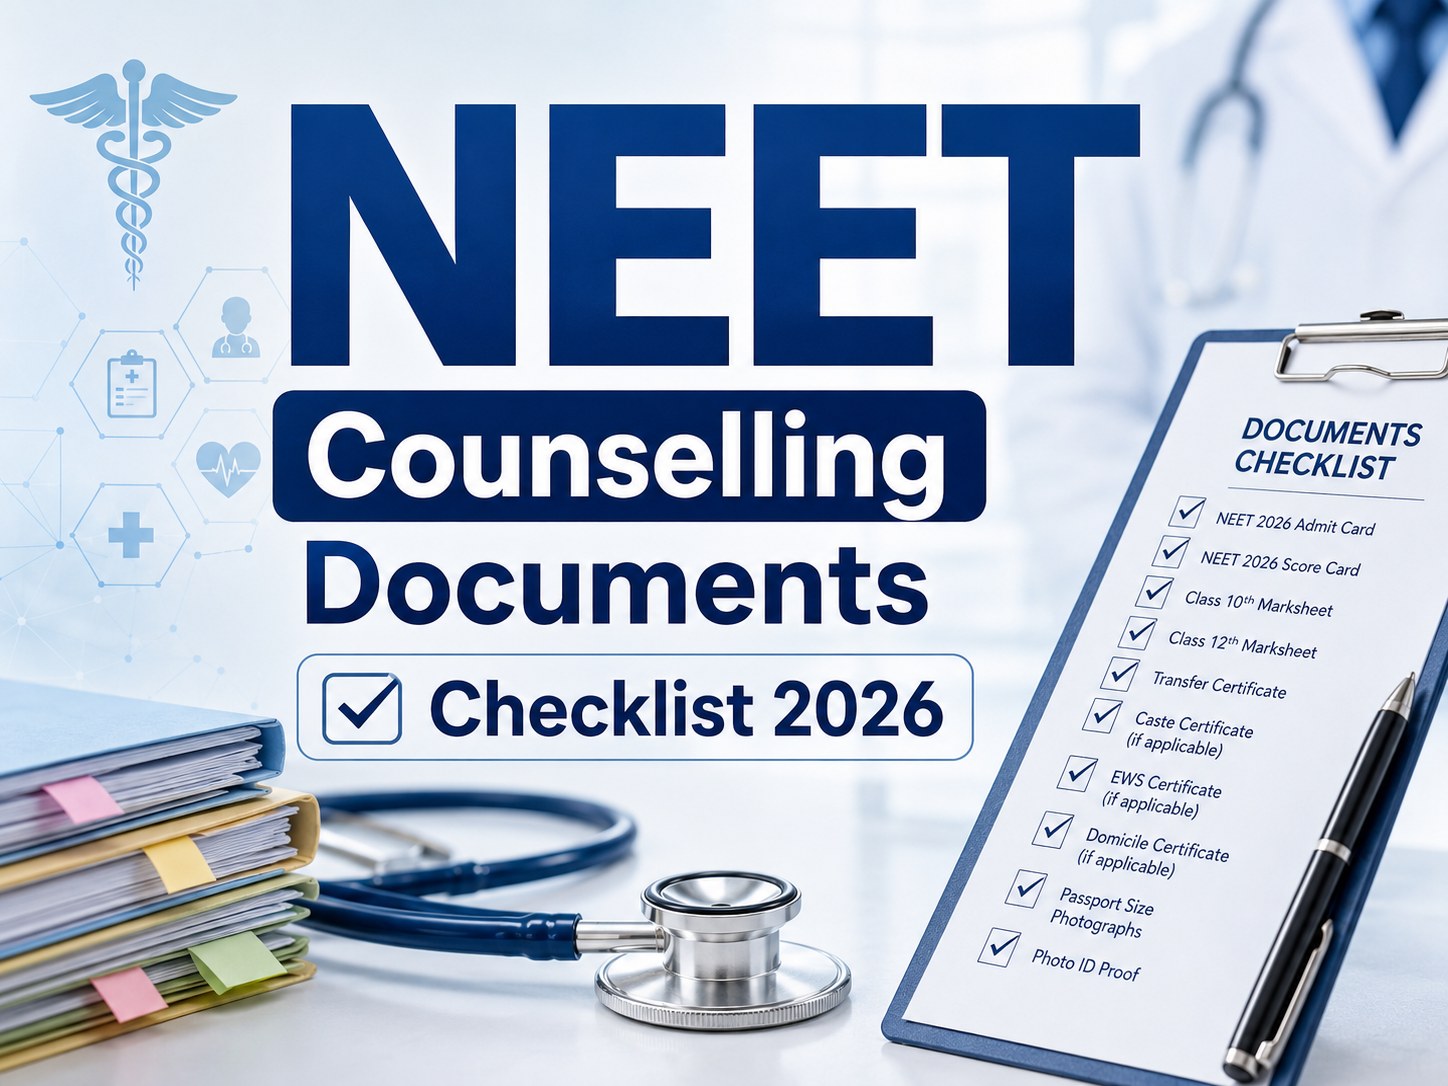
Requirements for NEET Counselling
1. NEET Admit Card
This is the same card you carried to your exam centre. It shows your name, photo, and roll number. Officials use it first during verification.
2. NEET Scorecard / Rank Letter
This paper shows your marks and rank. Without this, you cannot enter the process.
3. Class 10 Marksheet and Certificate
This proves your date of birth.
4. Class 12 Marksheet and Certificate
These are needed to prove you passed the subjects required for medical admissions — Biology, Physics, Chemistry, and English. These documents are checked very carefully.
5. Identity Proof
You can bring Aadhaar, PAN, Passport, or any government ID. It must match the name on your NEET form.
6. Passport-Size Photos
Carry at least 8 to 10 copies. These photos must look the same as the ones you used during NEET registration.
7. Allotment Letter
You get this after a seat is given to you. It shows that a college has been assigned to you.
Additional Documents (Only if Needed)
Some students need to bring extra documents based on their category or situation:
• Category Certificate (SC / ST / OBC / EWS)
If you want reservation benefits, your certificate must be updated and valid.
• Domicile Certificate
For state-quota seats, you must prove you belong to that state.
• PwBD Certificate
If you apply under the disability quota, this certificate is compulsory.
• Transfer Certificate (TC)
Some colleges ask for Ta C from your school.
• Migration Certificate
Needed if you passed Class 12 from a different board or state.
• Character Certificate
Many colleges ask for this to confirm your good conduct.
• Medical Fitness Certificate
This confirms you are physically fit to study medicine.
All these are required certificates for some students, depending on their category.
Arrange Documents Properly
It is great to have documents on the one hand, while it is very different keeping them in the right format and ready on the other hand. When it comes to neatness, we advise you to take the following steps:
The universal formats of the scanned documents are PDF and JPG, and it is better to have all the scanned documents in these formats since, typically, other formats are not accepted by the websites.
Put the original documents in a see-through folder, which will facilitate the verification process as it will be easy for you to display them.
It is a good idea to make a whole bunch of photocopies of each certificate, at least 4-5 copies.
Arrange the documents in this order: Admit card → Scorecard → Class 10 → Class 12 → ID proof → Category → Other certificates → Photos
Use adhesive labels marked “Academic,” “Identity,” “Photos,” etc., to assist and avoid confusion at the last minute.
Verification Process
You should realise that if your documents are neat and well-organised, the counselling process will be smooth and stress-free.
The verification process for NEET Counselling is one that a lot of students fear, although it is rather easy to follow. Here are the steps:
1️. Online Registration: You upload the scanned documents in the correct formats. The officials verify if everything is in order.
2️. Choice Filling: You select the medical colleges of your preference.
3. Seat Allotment: Based on your rank, category, and options, you are allocated a seat.
4. Physical Verification: At this point, you go to the designated college along with all the original documents.
The staff checks:
Your name spelling
Marksheets
Category certificates
Photos
Identity proof
Scorecard
Admit card
Additional required certificates
If everything is matched, the official approves your admission
Common Mistakes Made by Students
Students often lose seats because of these mistakes. Here are things to avoid:
Bringing only photocopies- Always bring originals.
Missing passport photos- Carry extra copies.
The category certificate is not updated - Old certificates may get rejected.
Documents in the wrong formats- Blurry or incorrect files stop your application.
Tips For Students
Here are some simple human tips that truly help during NEET counselling:
Make a list of all your documents
double-check the folder.
Prepare everything at least one week before counselling starts.
Keep digital copies in a pen drive or email.
Don’t depend on last-minute printing.
Keep your admission fees ready (if needed).
When you stay properly organised, the entire NEET counselling process becomes easier.
Final Words
Getting a seat in a medical college is a dream for many students. You already worked hard for NEET. Now the final step of the counselling process is equally important. Your documents are like keys that unlock your future.
So keep all the documents for NEET counselling tidy, complete, and verified. Bring all your required certificates, maintain proper formats, and stay calm during verification. Once the officials check everything, you are officially ready to start your journey to become a doctor.
Article Stats